This article walks through installing QAtrial and creating your first project using the setup wizard. We will use a concrete example: a US-based medical device company setting up a workspace for firmware validation.

Get monitors, keyboards and dev gear delivered free — and shop member deals
- Fast, free delivery on millions of items
- Access to Prime Big Deal Days deals on October 6–7
- Prime Video, Amazon Music and more included
Prerequisites
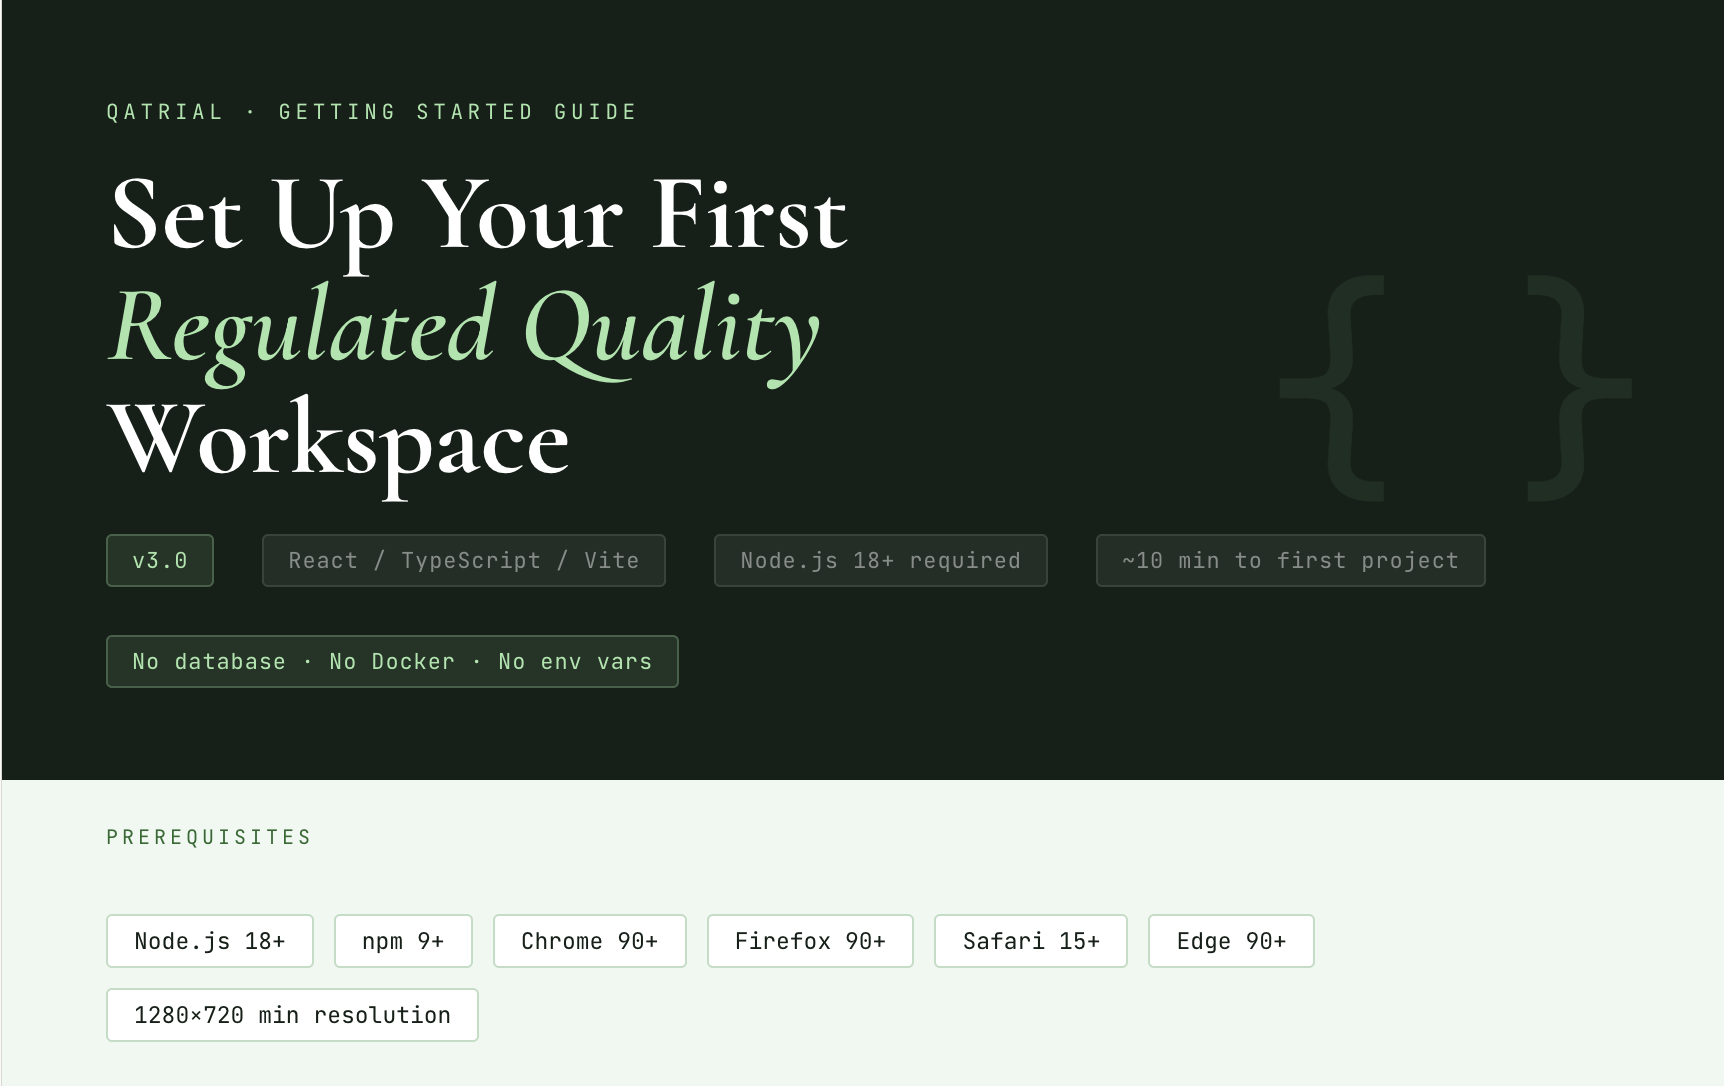
You need Node.js 18 or later and npm 9 or later. QAtrial runs in modern browsers: Chrome 90+, Firefox 90+, Safari 15+, or Edge 90+. A screen resolution of at least 1280×720 is required, though 1920×1080 is recommended.
As an affiliate, we earn on qualifying purchases.
Installation
Open your terminal and run:
npm install
npm run dev
The Vite development server starts and prints a local URL, typically http://localhost:5173. Open that URL in your browser.
There is no database to configure, no Docker container to start, and no environment variables to set (unless you want to use the optional AI proxy for production deployments). QAtrial runs entirely in the browser and persists data to localStorage.
As an affiliate, we earn on qualifying purchases.
Creating Your Account
On first launch, you see a login screen. Click Register and fill in:
- Full Name: This appears in audit trails and electronic signatures. Use your real name.
- Email: Your login identifier.
- Password: Used for login and signature re-authentication.
- Role: For your first project, select Admin to have full access. In a team setting, you would assign roles appropriately (QA Manager, QA Engineer, Auditor, Reviewer).
Click Register, then log in with your new credentials.
Regulated Quality
Workspace
browser compatible development monitor
As an affiliate, we earn on qualifying purchases.
As an affiliate, we earn on qualifying purchases.
The Setup Wizard
After login, QAtrial detects that no project exists and launches the six-step setup wizard. Each step builds on the previous one to compose a regulatory-aware project template.
Step 1: Country Selection
You see a grid of 37 countries organized by region: Americas, Europe, and Asia. A search box at the top lets you filter quickly.
For our example, select United States.
This selection determines:
- FDA-centric regulatory templates load (21 CFR Part 11, QMSR/21 CFR 820, ICH guidelines)
- Country-specific requirements will reference the FDA as the regulatory authority
- The available verticals and their standard references are contextualized for US regulatory expectations
Some countries display a “Demo available” badge. If you want to explore QAtrial before committing to your own project, click Load Demo on one of these countries. The demo pre-fills every wizard step with realistic data so you can see the full output without making any decisions. You can always start a new project later.
Step 2: Industry Vertical
Ten verticals are available. Each loads industry-specific standards, risk taxonomies, and compliance requirements.
For our example, select Medical Devices.
This loads:
- QMSR/21 CFR 820 references (the new FDA Quality Management System Regulation)
- ISO 13485:2016 requirements
- IEC 62304 (software lifecycle for medical devices)
- ISO 14971 risk management taxonomy
- EU MDR 2017/745 references (relevant if you plan to sell in Europe)
The vertical selection is optional. You can click Skip — use generic templates to proceed with only country-level templates. This is appropriate if none of the ten verticals match your industry, but for most regulated organizations, selecting a vertical produces significantly more useful output.
Step 3: Project Metadata
Fill in four fields:
| Field | Our Example | Notes |
|---|---|---|
| Project Name | MedDevice Firmware v2.1 | Required. Appears in the header and reports. |
| Description | Firmware validation for Class II infusion pump controller | Optional. Provides context for AI features and reports. |
| Owner | Sarah Chen | Optional. Displayed in reports. |
| Version | 2.1 | Optional. Defaults to “1.0” if left blank. |
Only the project name is required. The other fields enhance reports and provide context to the AI co-pilot.
Step 4: Project Type
Seven project types are available, plus an Empty option:
| Type | When to Use |
|---|---|
| Software / Web App | Software development and validation |
| Embedded / IoT | Hardware, firmware, IoT devices |
| Quality System (QMS) | Setting up or improving a QMS |
| Validation | IQ/OQ/PQ, CSV, method validation |
| Clinical | Clinical studies and trials |
| Compliance / Audit | Regulatory compliance assessment |
| Supplier Quality | Supplier qualification programs |
| Empty | Blank project, no templates |
For our example, select Embedded / IoT. This loads template content specific to firmware and hardware validation within the medical device vertical: requirements referencing IEC 62304 software lifecycle processes, hardware-software integration testing, and embedded system verification.
Selecting Empty skips the module selection step entirely and creates a blank project with zero pre-generated content. This is useful if you want to import your own requirements or start from scratch.
Step 5: Quality Modules
This step shows 15 composable quality modules. Each adds a focused set of requirements and tests (typically five per module) to your project. Select any combination.
For a medical device firmware project, a reasonable selection might be:
- Audit Trail — Required for 21 CFR Part 11 compliance
- Electronic Signatures — Required for 21 CFR Part 11 / EU Annex 11
- Data Integrity (ALCOA+) — Fundamental GxP expectation
- Change Control — Essential for device software changes
- CAPA — Required by ISO 13485 and QMSR
- Risk Management — Required by ISO 14971
- Validation / CSV — Required for IQ/OQ/PQ protocols
- Traceability Matrix — Required by ISO 13485 and FDA expectations
Click Select All if you want every module, or pick individually. The header shows your selection count.
Modules compose on top of the country and vertical templates. If a module requirement duplicates one already provided by the country or vertical template (matched by title), the system deduplicates automatically.
Step 6: Preview and Customize
The preview screen shows two lists: all generated requirements and all generated tests. Each item has a checkbox.
For our US Medical Devices + Embedded/IoT project with the modules listed above, you will typically see 40-80 requirements and a similar number of tests. Each requirement shows its category tag and title. Each test shows its category and linked requirement tags.
Review the lists. Deselect any items that do not apply to your project. For example, if your device does not require sterilization, you might deselect sterilization-related requirements. The header updates to show “Requirements (selected/total)” and “Tests (selected/total)”.
When satisfied, click Create Project with the final count displayed on the button.
As an affiliate, we earn on qualifying purchases.
After the Wizard Completes
The wizard closes and you land on the Requirements tab with your newly generated project. Here is what to do next:
Review Your Requirements
Scroll through the requirements table. Each requirement has:
- An auto-generated ID (REQ-001, REQ-002, …)
- A title and description
- Status (all start as Draft)
- Metadata: tags, risk level, regulatory reference, evidence hints
Click the pencil icon on any requirement to edit it. Adjust descriptions to match your specific product. Change risk levels if the defaults do not match your risk assessment. Add or modify regulatory references.
Check Your Tests
Navigate to the Tests tab. Tests are pre-linked to requirements via tag-based matching that happened during template composition. Each test shows its linked requirements.
Explore the Dashboard
Navigate to the Evaluation tab. The Overview dashboard shows your coverage metrics, the traceability matrix, and any orphaned items. Since all tests start as “Not Run” and all requirements start as “Draft”, your initial compliance readiness score will be low. This is expected. The score improves as you activate requirements, execute tests, and complete risk assessments.
Configure AI (Optional)
Click the gear icon (Settings) in the header to configure an AI provider. QAtrial supports five presets:
- Anthropic — Claude models, requires API key
- OpenAI — GPT-4o and variants, requires API key
- OpenRouter — Access to multiple model providers, requires API key
- Ollama (Local) — Run models locally, no API key needed
- LM Studio (Local) — Run models locally, no API key needed
Select a preset, enter your API key (if applicable), and choose a model from the dropdown. Once configured, AI features become available: test generation from requirements, risk classification, gap analysis, CAPA suggestions, executive briefs, and validation summary reports.
If you prefer not to use AI features, QAtrial works fully without them. The ISO 13485 gap assessment even has a keyword-based mode that requires no AI provider.
Start Working
A typical workflow from here:
- Review and refine the generated requirements to match your specific product
- Move requirements from Draft to Active as they are reviewed and baselined
- Use AI test generation to create additional test cases where coverage is thin
- Execute tests and record results (Passed/Failed)
- Open CAPA records for failed tests
- Run gap analysis to identify missing coverage
- Generate reports for management review or regulatory submission
Starting Over
If you want to create a new project, click New Project in the header toolbar. You will be warned that existing data will be discarded. Confirm to restart the wizard.
You can also use Import/Export in the toolbar to export your current project as JSON before starting a new one, preserving your work for later reference or re-import.
Using Demo Projects
If you selected a country with a demo project available and clicked Load Demo in Step 1, the wizard pre-fills all steps with realistic data. This is the fastest way to see QAtrial in action. After the demo loads, you can modify any step before creating the project, or simply create it as-is and explore.
Demo projects include requirements and tests that represent a realistic regulated project in the selected country and vertical. They are useful for training, evaluation, and understanding how QAtrial organizes quality records before you commit your own project data.
What Just Happened
In about ten minutes, you went from a fresh installation to a workspace with dozens of regulatory-aware requirements, linked test cases, risk metadata, and compliance infrastructure. The same setup in a traditional QMS would involve weeks of configuration, template development, and consultant time.
The generated content is a starting point. It reflects the regulatory standards that apply to your country, vertical, and project type. Your job is to refine it to match your specific product, organization, and quality objectives. QAtrial gives you the structure. You fill in the specifics.
Halloween Picks
halloween
As an affiliate, we earn on qualifying purchases.